
One of the things I had to learn when I got into photography, was how to take headshots and cast photos for our yearly school musical. All headshot photos have to be in black-and-white and are individually placed in the program next to each student’s name and biographical information. I thought I would share the process that I ended up using that works well for me.
Headshots – Preparation
The first thing you need to decide is the location to take your photos. You want to shoot against a solid background color if possible. In my experience black works best. You also want to choose a location that has electrical outlets for you to plug your equipment into. I typically use the school’s black stage curtains. I just close the curtains and setup my camera equipment on the stage. There are outlets located in several places on the floor which I use to plug-in my lights and laptop. I place a piece of duct tape on the floor in front of the curtain where I want the subject to stand when taking the photo.
If possible you should test out your location and equipment a day or more before the photo shoot. Practice makes perfect.
Make sure to bring some black t-shirts with you in at least 3 different sizes. I usually bring small, medium, large, and extra large for the big and tall guys. You will also need to print out a list of all the kids names on a piece of paper, with room next to each name for them to check that their photo has been taken.
I shoot tethered, which means my camera is directly connected to my laptop, which is placed on a foldable tv-tray situated to the right of my tripod. I make sure to place the tv-tray next to a floor outlet for power. When I take a photo with my camera it immediately gets sent to my laptop where I can view the picture full-screen in Adobe Lightroom. I typically take 3 photos of my subject, and we discuss which one looks best. I let them choose their favorite and I flag it in Lightroom by hitting the “p” (pick) key. To unflag a picture you type “u”. Check that the subjects hair looks good and that their face is not overexposed. You can save tons of post editing time by making sure you have things shot properly in-camera. I have each person check off their name on the sheet of paper, and then go get me someone on the list who hasn’t had their photo taken.
Make sure you have your camera battery charged before the camera shoot. It is also a good idea to come with at least one backup battery. Also check that you have enough memory cards and that they are formatted and empty.
Plan on shooting on two different days. The second day will be a makeup day. It is rare that you can get everyone’s photo taken in one shoot, invariably someone will be missing on the first day.
Headshots – Lighting
Lighting is a complex topic. You can find many helpful Youtube tutorials on the subject. I would suggest keeping it simple. I just use two continuous lights when shooting headshots. They are placed in front of the subject to each side.
I encourage you to experiment with your lights at home until you are satisfied with the results. You will want to go to your location and try your lighting setup ahead of time. Make sure it works the way you think it will.
Headshots – Equipment
I borrow one of the school’s Lowel DV Creator 1 Kits for the photo shoot. The kit comes with light stands which is nice. The lights plug into electrical outlets to produce continuous lighting.
I would recommend for beginning photographers to use continuous lighting so you don’t have to deal with remote triggers and shutter speed issues. Make sure to practice with your lighting kit before you shoot with it. It takes some time to learn how to put all of the gear together correctly and determine where you want to place each light.
Make sure to use a tripod when taking your pictures and a release shutter if you have one. I also use a camera grip with extra batteries so I never have to worry about running out of power.
I shoot headshots with my Canon EOS 5D Mark III DSLR and a 28-135mm lens.
You can rent equipment similar to what I describe from BorrowLenses though they require a 3 day minimum rental. You can also try your local camera shop for one day rentals.
Headshots – Photo Editing
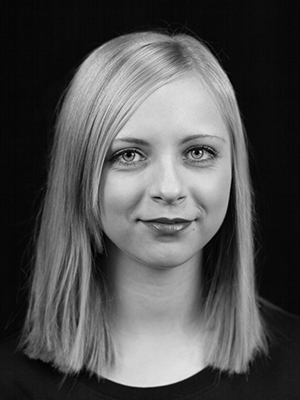
I use Adobe Lightroom Classic and Photoshop for editing and cropping the photos. In “Develop” mode, choose the crop tool and set the ratio to 4×3. When you drag the corner in using the crop tool, it will flip from 4×3 to 3×4 which is what you want. Make sure to crop the photo so that the subject fills the entire area with just the neck and top of the shoulders showing. Here is an example:
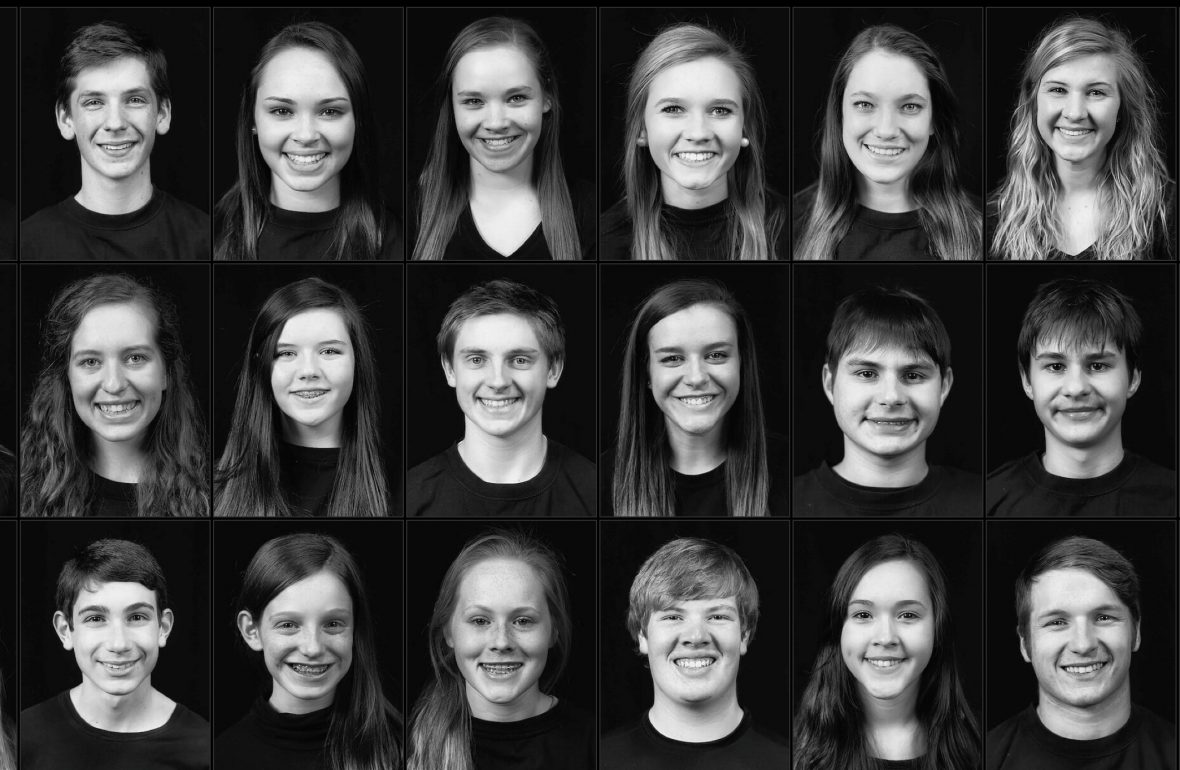
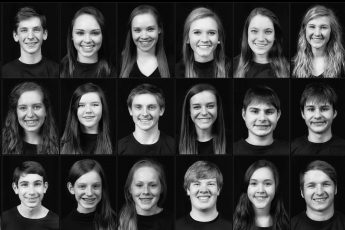
Cast Photos
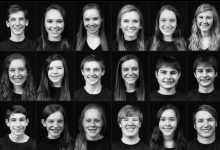
One of the frustrations beginning photographers face when shooting cast photos is getting a picture where everyones eyes are open. Well I will tell you the secret. The trick is to shoot a burst of multiple photos in a row. You then layer all of the images on top of each other in Photoshop. Then it is easy to erase any closed eyes to see the open eyes of the subject underneath on a layer below. You will need a DSLR camera that can handle taking bursts of photos. Also make sure to have a fast lens and memory card. You will need to make sure your camera is mounted onto a tripod. Additionally, I would recommend using a release shutter so you don’t have to physically touch the camera. For cast photos I shoot with a Canon EF 70-200mm f/2.8L IS II USM Telephoto Zoom Lens. Here are a couple of examples:


Leave a Comment